Spending a few hours tinkering with your bike on a wet winter’s afternoon can not only be very relaxing but rewarding as well. All those warmer months of riding can take a toll on your bike and spending a little time looking after it will make your riding experience better. A well-adjusted, smooth running bike is a pleasure to ride. We have all ridden past that guy who never lubes his chain or adjusts his gears. Don’t be that noisy rider, clunking your way down the road.
The headset area on your bike never really gets any attention until something goes wrong; let’s change that. A couple of quick, easy tests are all it takes to work out if you have an afternoon of work to do in the shed.
TEST 1
Stand over the top tube and grab the outer ends of your handlebar and flex them side to side, trying to twist the bar from the stem. This is the load that you put the front of the bike under when you’re climbing a hill. Next step is to apply the front brake and rock back and forth, listening and feeling for a knock as the weight transfers forward and back. What you’re looking for in this test is any loose feeling or creaking noise as the pressure swaps from side to side or front to back. This will indicate that the headset is worn or loose. A creaking noise in this test may also indicate road grime or grit around the stem or headset spacer area. We will cover this as we dismantle the headset soon.
TEST 2
Remove the front wheel and hold the bike off the ground. A bicycle work stand is a great help if you have access to one. Supporting the bike with some straps or rope from the rafters in the shed also works ok as well. Turning the handlebars from side to side with the wheel removed and the bike off the ground might reveal a tight feeling as you get away from centre or a grumbling noise and a rough feeling. This will be an indication that one or both headset bearings are worn out or very dry.
Time to get your hands dirty…
With your bike still in the stand from the last test or hanging from the rafters (but not by the handlebars as we are about to remove them), it’s time to start removing the stem, bars and fork to access the headset. The stem cap and stem bolts are all that’s holding the fork into most modern bikes – this is called a ‘threadless headset’ as the steerer tube is smooth and does not have threads cut into it like older threaded styles. This is the type that we will deal with here. ‘Threaded headsets are getting rare these days and often require large but thin spanners that most home sheds will not contain. Maybe head into your local bike shop if the above tests showed up an issue with a threaded style.
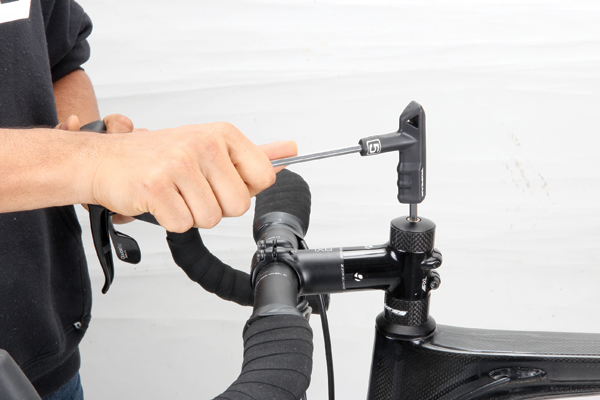
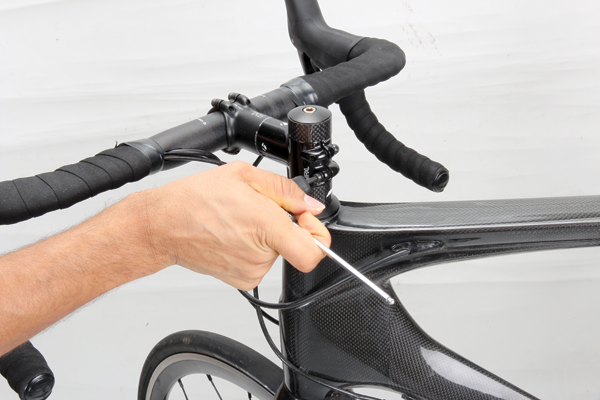
Removing the cable from the front brake will make your life easy at this stage, then loosen the stem bolts that clamp the stem to the top of the fork (steerer tube) and remove the stem cap bolt. This will allow the handlebar, stem and headset spacers to slide off the fork. The bars will still be connected by the rear brake and gear cables so strap them to the bike frame to keep them from hanging in your way!
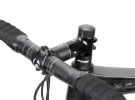
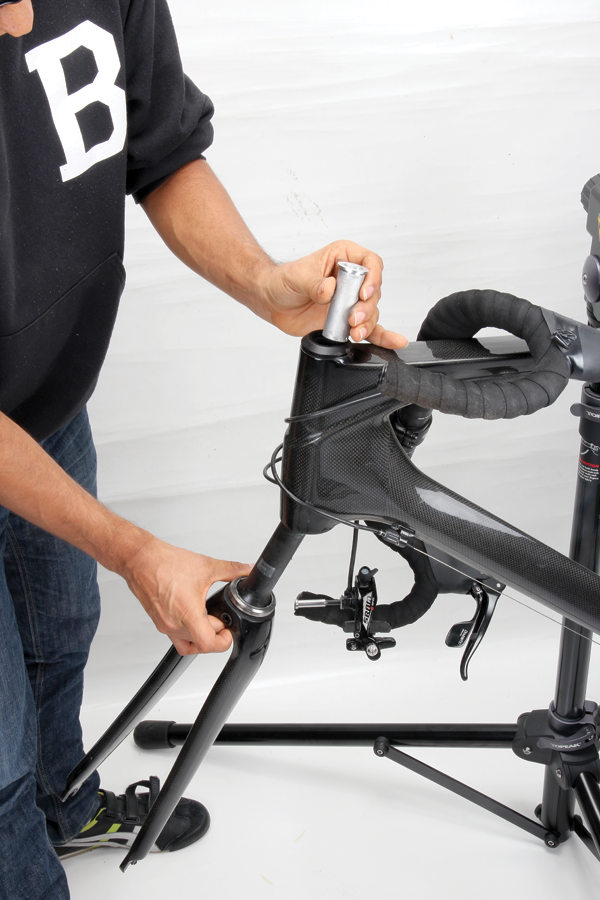
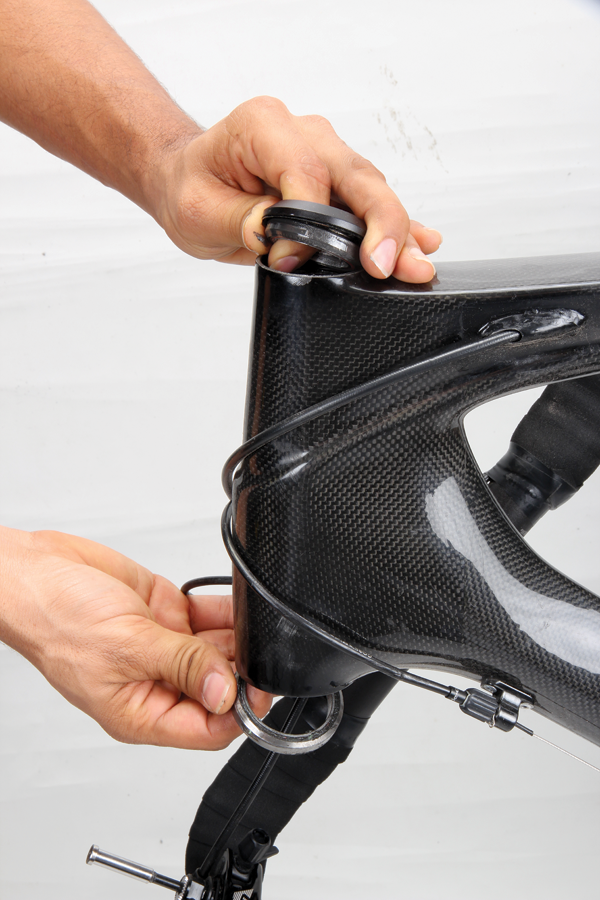
Now the fork is not being held into the bike at all, so keep an eye on it. Sometimes they slip straight out and fall on the floor. While holding the fork up into the frame to prevent it from falling out, tap the top of the steerer with a rubber mallet to loosen the compression ring that centres the top bearing. You should now be able to remove the top dust cover and the compression ring, sliding them up the steerer. This will expose the top bearing. It can either be a sealed unit or a ring of loose bearings. Generally speaking, whichever style the top is, the bottom will follow. If they are loose bearings, care needs to be taken when you remove the now loose fork as the lower bearings will just fall onto the floor and never be seen again. Hold a rag around the area where the fork meets the frame and catch any balls that fall out. If they are sealed there is no such worry; the bearing will either stay in the frame or on the fork steerer. Slide the fork out and remove the bearings, laying all the parts out on the bench in order of removal.
Time to clean everything and check for worn bits as you go.
If you ended up with a rag full of loose bearings, a small amount of degreaser sprayed onto the rag will clean them up so you can see if they all look smooth and are not pitted. If any are damaged, it will normally be the beginning of the end of that headset. Damaged balls quickly damage the race that they run on inside the cup in your frame. Clean the cup and check for pitting. The area where the balls run should be shiny and smooth. If not it’s off to the bike shop – time to get a new headset fitted. A good bike shop will have a headset press that makes sure the new cups go into the frame straight and true. No hammers needed. If all looks good with the balls and the cups, a nice layer of fresh grease in the cups and you can sit each ball neatly in place if you didn’t lose any, they will sit evenly spaced in both the top and bottom cup. Cleaning and fresh grease can turn a grumbly headset into a fresh new feeling one.
Sealed bearing headsets are a fair bit easier to work on as the bearings are either smooth and in good condition or rough when you spin them in your hand. If TEST 2 revealed a rough feeling when you turned the bars, at least one, if not both of the sealed bearings on your bench will need replacing. There is normally nothing else worn is a sealed set up so it might be time to head to the local bike shop to replace that rough feeling bearing with a new one. The old bearing will have a part number printed on the outside of it and the shop can measure it to double check, so take the bearings with you!
Once again cleaning is very important before reassembly as lots of noises in the front end of bikes can be related back to a dirty headset. The road grime that we mentioned earlier gets in between the bearing race and the cups, under the stem bolts and even in between the headset spacers. Wipe everything clean before it goes back together.
A thin layer of grease or anti-seize around the outside of the sealed bearings and the compression ring is a good idea to keep them seated and quiet, but everything else needs to be clean and dry. Too much grease actually attracts dirt and can make noises reappear quickly.
Refitting the fork through the now clean and smooth lower bearing is done first, then slide the top bearing, compression ring and dust cover back down the steerer.
Before fitting the headset spacers and stem, it’s a good idea to wipe off any grease that has got onto the steerer tube as the stem has to clamp tight onto that area. Making it slippery is not a good start.
Now for the spacers, stem and top cap. To preload the headset correctly, tighten the top cap first – just enough to take the looseness out of the bearings. This will help seat the bearings into the headset. The stem should still be able to slip around on the steerer but there should be a little pressure on it. If you loosen and tighten the stem cap a few times, you will feel the point just as the preload is taken up. To get this correct the first time takes years of experience so don’t be worried if it takes you a couple of goes to get it right. When you feel like you have it preloaded, tighten the stem bolts to the correct torque setting (printed on most stems near the bolts) and spin the bars side to side. The headset should feel much smoother than when you started and have very little resistance. If not, loosen the stem and reset the preload with the top cap. Torque the stem again and test.
Refit the front brake cable and front wheel and sit the bike back on the ground. Redo TEST 1; there should be no loose movement back and forth. If all feels smooth it might be time for a test ride around the block, so double check that you have the stem lined up straight with the front wheel. This also takes years of practice to get right the first time.
You can now ride off in confidence, knowing that your headset is smooth and in great condition and your bike will steer as it was made to.